Monday, January 14, 2019

Getting Organized - Still...

Unmounted stamp catalog - example page

They say that rubber stamping is actually three different hobbies:  shopping for/buying stamps and supplies, organizing said supplies, and then actually making things.  So true.  And while it's always a good time of year for stamp and supply organization, somehow January seems like the time to buckle down and cross some of these tasks off the list (although, if you do the shopping bit, you can never really finish the organizing bit, can you.  Darn.).  I'll probably post more about my latest organization endeavors over the coming weeks, but this is a slight tangent...

Way back in 2015, I got a MISTI (I posted about it here).  And then a year later, I got the smaller version, the Mini MISTI.  And then this past summer, I got a Tim Holtz travel-sized stamp platform (with its useful case!).  The MISTI is definitely my favorite, but all of these do one thing very well:  they prevent stamping mishaps that ruin everything.  If you're a stamper, you know this moment...
  • Your paper moves at the last second
  • You missed inking a spot on a stamp, or didn't use even pressure everywhere
  • You drop your stamp on the good paper by accident
  • You do any and all of these things and you only had five minutes to make anything anyway and now everything is messed up and your card won't get done and everything will be horrible forever
The MISTI fixes all of these things with magnets and cling and magic (but not for wood mounted stamps, alas - but I persevere and take risks using these, and am one-by-one, converting them to cling mount - that's yet another post...).  But enter my stamp organization process, where I am finally creating a catalog of my single cling-mounted stamps that live on individual 8.5 x 11 sheets by stamping them out on 8.5 x 11 paper (see example at the top of the post).  That's too big a piece of paper for each stamp to be happily stamped out using the MISTI or the Tim Holtz platform.  But I can do this - I have acrylic blocks.  Uh huh.  Spoiler alert...

Because I'm left-handed, I work from the bottom-right corner of the page, and work my way up.  All was going fine until I dropped the inked stamp into the wrong spot - twice. Click on the image below to really get the full effect.

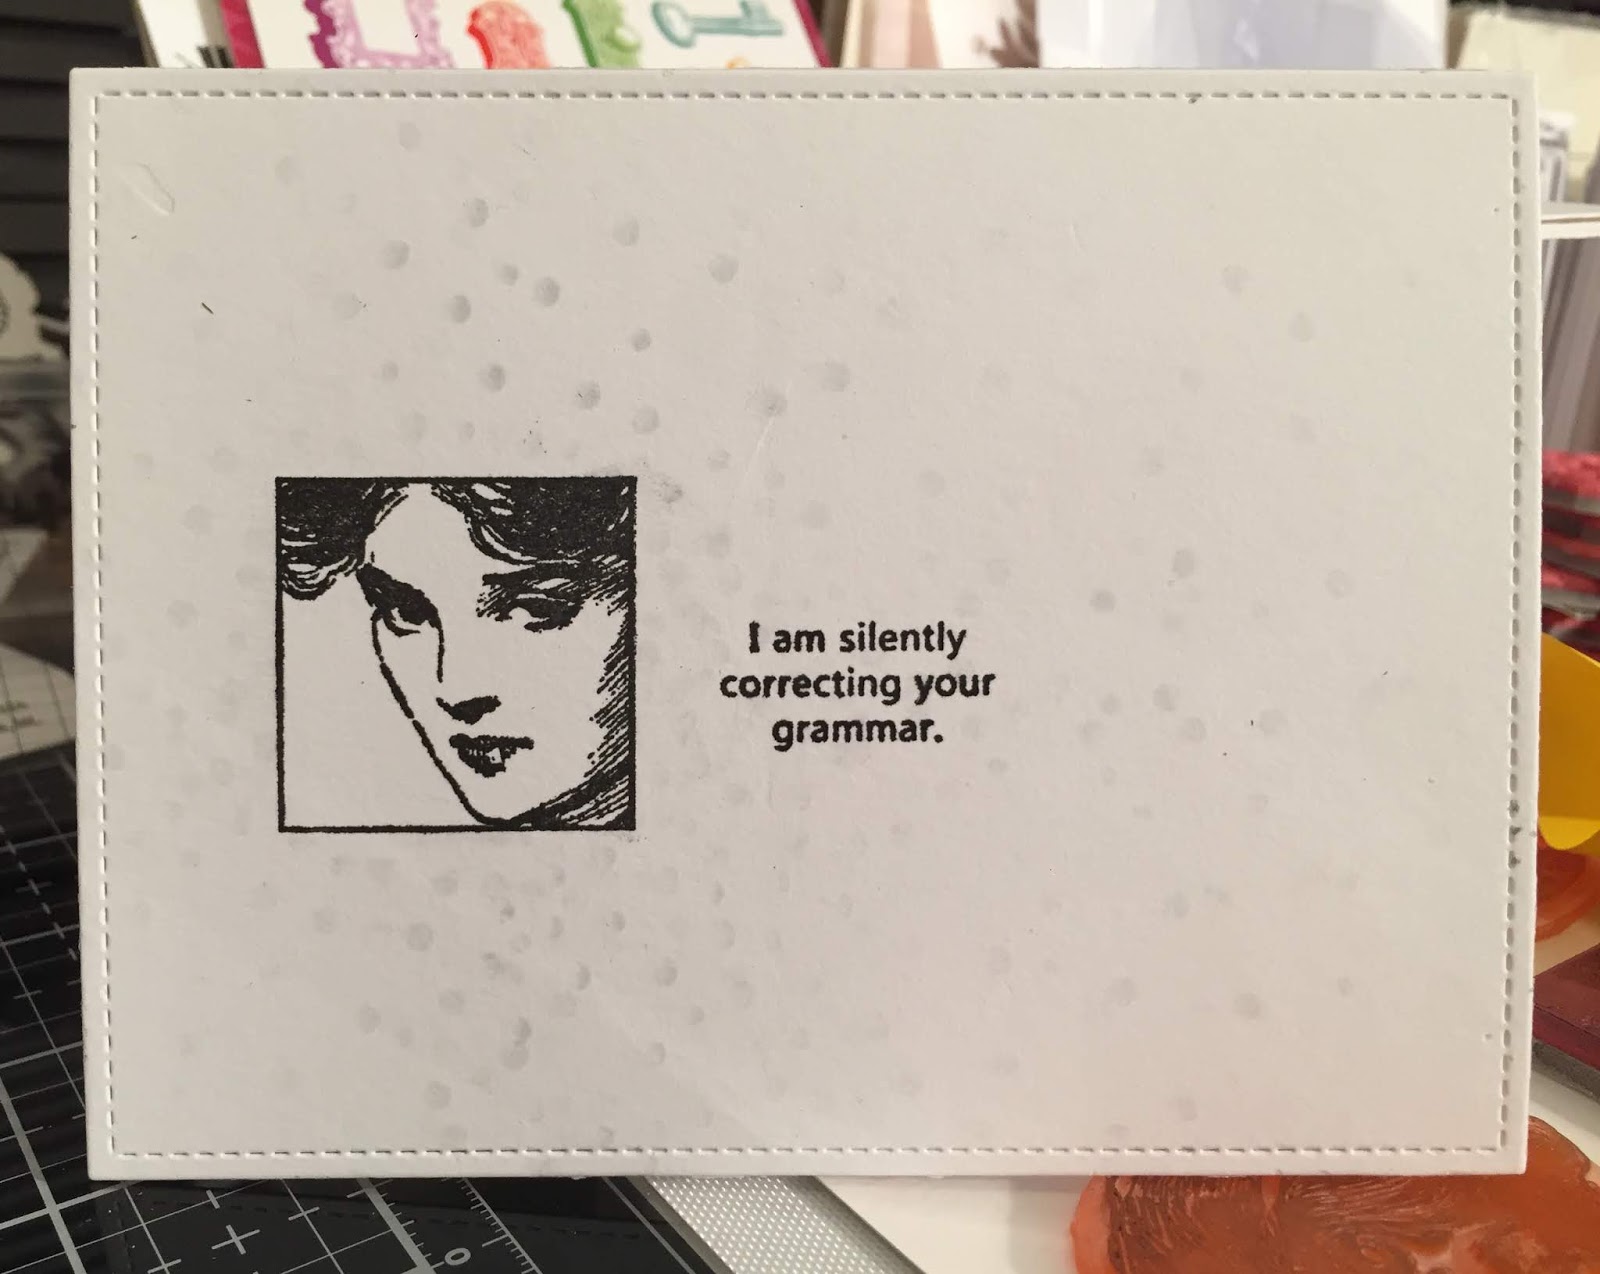
Stamps by Flonz, Hampton Art, Technique Junkies

And then I clearly missed a spot with my inking, pressure, or both.

Quantum Background by Deep Red Stamps

But since the catalog pages are just for me, even with the stamping flubs, they still do the job.

And for me, the added bonus of working on this project is that I remember what stamps I have, and where to find them so I can get some inspiration for some actual card-making!


Sentiment:  Viva Las Vegastamps

What projects are you working on this January?


Tuesday, January 8, 2019

Happy New Year!


Another year, another attempt to actually use this platform...  Can I do it?  Ready, set...

I wish I could remember where I first saw this bear from the Essentials by Ellen All Inside set by Julie Ebersole, but it was on someone's blog somewhere, at some point.  And clearly it stayed in my consciousness, because at some point, I just had to have it.  And all the accessories, of course.  I don't often turn to "cute" for my card-making, but I just can't resist this bear, and I knew it would be perfect for my holiday cards.


One of the key features about this bear is that it can hold things.  The matching die cuts out around the arms so you can slip in an object.  I made several test bears to practice cutting and stamping.


To go with the holiday/winter/warmth theme, I added some presents, including one proudly toppled over by the cat (my cat), and decided to give the bear a coffee cup to hold (like me, who likes nothing more than a warm beverage at all times of the year).  The Bear Ware sets don't include a coffee cup (hint:  Ellen, Julie, I know you'll never see this, but so many more bear accessories needed.  I'll send you a list...), so I used this one from Endless Creations.


I stamped all of the presents, masked one of them, and stamped the cat.


Then I masked the presents and the cat, and sponged on some Tumbled Glass Distress Oxide.


I stamped and colored the coffee cups, and fussy cut each one.  I didn't want the bear to be cold, so I die cut a scarf from the Bear Ware 2 set.  


The bears, of course, needed rosy cheeks...


Before the final assembly, I colored the presents and the kitty (to resemble my cat, Bunny), and stamped the cobbled together sentiment from Flora & Fauna's Holiday Word Party set.


I even used some of the leftover bears to create another card.

I look forward to using this bear often, and sharing my adventures in card-making with (all two of) you over the coming year.