Showing posts with label Projects. Show all posts

Wednesday, June 24, 2020

Woodblock Wednesday - Tea Edition

Ever since I finished my mail art project, which I failed to write about, but still may, and the first round of my pocket letter project, which I also failed to write about, but still may, I've renewed my focus on craft room organization and unmounting my woodblock stamps.  I mean, it's really a space problem in the end.  I have my woodblock stamps stored in Moppe storage boxes from Ikea (from back when they were solid and sturdy), and they just take up a lot of space.  Based on rough calculations, one Moppe box fits about 60 woodblock stamps; one bin of cling-mounted rubber stamps on storage sheets holds about 300 stamps!  So I'm, in theory, working on emptying one Moppe box at a time and doing the sticky work of removing the woodblocks and original foam cushion, cleaning off the bare rubber stamp, and remounting them on cling foam so I can use the stamps with acrylic blocks or any stamp positioning tool.  The bins of cling-mounted stamps will live in the space currently occupied by the Moppe boxes.

The thing is, I'm not disciplined enough to work on one box at a time.  Instead, I open up lots of drawers and pick out woodblock stamps I especially like or want to use at that moment, and unmount from there.  So out of my 60+ drawers of woodblock stamps, there are some missing from almost every drawer, and maybe two completely empty drawers in total.  I'm having a pointless conflict between efficiency and spontaneity in which there are no winners, and the outcome doesn't really matter.  Yet, I forge ahead...

I decided on a different approach the other day - unmount all stamps of one theme.  I chose to focus on my tea-related stamps because I wanted to use them for a project, and many of them are clustered in a few drawers.  I didn't do quite all of them, but a little over 30 of them on Sunday morning, and afterward, quickly created this card:


The Love and Scandal stamp is from Stampington, which no longer carries it, and the teacup is from Stamp Francisco, a grand old stamp company who blessedly still exists and carries so many wonderful images.   And I still want them all.

Maybe by the end of the summer I will have actually emptied one whole stamp box!  If I do, I'll share photo evidence in this space...

Wednesday, November 13, 2019

Woodblock Wednesday, take 1...

I saw a blog post the other week under the heading of "Woodblock Wednesday."  The idea was to create a card using stamps in your collection mounted on woodblocks.  I love this idea because it encourages you to use the older stamps in your collection, rather than always reach for the newest stamps closest to hand.  I have so many woodblock stamps that I adore, but don't reach for as frequently these days because the clear stamps and cling stamps are just so much easier to store and use, especially with the help of the MISTI.  I can't believe I've gotten to this point.  I remember back in the day when I would never even consider buying an unmounted stamp.  Look at me now...

I decided to take this challenge to a new place:  not only to use woodblock stamps in a card each week, but to use this as the opportunity to convert the woodblock stamps to repositionable cling stamps in hopes I might reach for them more often.  Here's my first card in this series, sent to a friend to thank her for hosting me over a dance weekend:


Image:  Picture Show; Quote:  Renaissance Art Stamps; Diecut frame:  Spellbinders

Thursday, July 11, 2019

Portable crafting...

Summer is a time of traveling for me (Dance Camp!!), and brings with it all kinds of wishful thinking like I will have so much time for reading - I'd better take at least three books with me, and my Kindle, just in case.  And then I manage to only read a few pages from one book each night before falling dead asleep.  Crafting on the go is another one of these things aspirations.  I imagine I will have lots of downtime for working on a project, or making random things.  So I dutifully pack too many supplies, because I can never decide ahead of time what to work on, and maybe get an hour once, or not at all.

Last summer, in an attempt to not carry so much (as if), I focused on wreaths and the wreath builder system from GinaK Designs, and I actually made a few things I didn't hate.


People are making beautiful wreaths out there, and I aspire to that, but I find my success rate is mixed.  But I do love the idea of wreaths or other geometric designs not made out of flowers.  This is one I made last summer with a bunch of small stamps from the Stampendous Charm Collection.  I love the monochromatic simplicity of it, and the surprise when you look closely and discover the small images that make up the whole.  Someday, I'll actually turn this into a card.

I'm going back to camp in a few weeks.  Oh, all 1-2 people who look at this, what should I work on this year?

Monday, July 8, 2019

Recurring themes: Cityscapes

This is a post I started writing in 2015 and have been meaning to finish ever since... 

I find I have inadvertent themes in my stamp and die collection:  background stamps with script/French/indecipherable writing, Gibson Girls, mail art and faux postage, snarky quotes, sassy women, moose, oceans and water, and on, and on.  Another recurring theme: cities and skylines. Maybe it was growing up in New York City, but I find drawn images of buildings, towns, cities, city maps, row houses, etc. alluring. When I finally added cutting dies to my collection, I had to have all of the cityscape dies. 


This 4th of July, I played with a few new purchases:  a cityscape die from Ellen Hutson and a fireworks layering set from My Favorite Things.  I dragged out my ancient embossing powders and chose a few of the best metallics.   If/when I do it again, I'd use a transparency to plan out the fireworks a little better - may putting one burst below the skyline, adding a few more, and thinking about placement and balance - always a challenge for me.

I have this someday project of cutting all of my cityscape dies, and stamping all of the city stamps and looking at them side-by-side.  I wonder how many of the dies in particular would look identical?

Stamps:  Fireworks by My Favorite Things
Die:  Big City by Ellen Hutson
Inks:  Versamark and Tim Holtz Distress Oxides

Monday, January 14, 2019

Getting Organized - Still...

Unmounted stamp catalog - example page

They say that rubber stamping is actually three different hobbies:  shopping for/buying stamps and supplies, organizing said supplies, and then actually making things.  So true.  And while it's always a good time of year for stamp and supply organization, somehow January seems like the time to buckle down and cross some of these tasks off the list (although, if you do the shopping bit, you can never really finish the organizing bit, can you.  Darn.).  I'll probably post more about my latest organization endeavors over the coming weeks, but this is a slight tangent...

Way back in 2015, I got a MISTI (I posted about it here).  And then a year later, I got the smaller version, the Mini MISTI.  And then this past summer, I got a Tim Holtz travel-sized stamp platform (with its useful case!).  The MISTI is definitely my favorite, but all of these do one thing very well:  they prevent stamping mishaps that ruin everything.  If you're a stamper, you know this moment...
  • Your paper moves at the last second
  • You missed inking a spot on a stamp, or didn't use even pressure everywhere
  • You drop your stamp on the good paper by accident
  • You do any and all of these things and you only had five minutes to make anything anyway and now everything is messed up and your card won't get done and everything will be horrible forever
The MISTI fixes all of these things with magnets and cling and magic (but not for wood mounted stamps, alas - but I persevere and take risks using these, and am one-by-one, converting them to cling mount - that's yet another post...).  But enter my stamp organization process, where I am finally creating a catalog of my single cling-mounted stamps that live on individual 8.5 x 11 sheets by stamping them out on 8.5 x 11 paper (see example at the top of the post).  That's too big a piece of paper for each stamp to be happily stamped out using the MISTI or the Tim Holtz platform.  But I can do this - I have acrylic blocks.  Uh huh.  Spoiler alert...

Because I'm left-handed, I work from the bottom-right corner of the page, and work my way up.  All was going fine until I dropped the inked stamp into the wrong spot - twice. Click on the image below to really get the full effect.

Stamps by Flonz, Hampton Art, Technique Junkies

And then I clearly missed a spot with my inking, pressure, or both.

Quantum Background by Deep Red Stamps

But since the catalog pages are just for me, even with the stamping flubs, they still do the job.

And for me, the added bonus of working on this project is that I remember what stamps I have, and where to find them so I can get some inspiration for some actual card-making!


Sentiment:  Viva Las Vegastamps

What projects are you working on this January?


Tuesday, June 30, 2015

Card Sets - Part 1...

A couple of years ago I decided to branch out from making single cards, to making sets of cards, and offering them for sale at a dance camp I attend every summer.  Isn't it a vague dream for those of us who make things to find a market for that work, quit our day jobs, and be able to retire off of our earnings?  Ha!  But off I went into my first foray into the market place...

The key to success for me was to find a simple design that I could vary just enough to make different sets of cards, but that would be easy to reproduce.


What I came up with were single images, mounted on colored card stock, mounted on white A2 folded cards with a simple, single-line pencil frame.  I had sets with cooking utensils, clocks, shoes, yarn, etc.  In some sets I included multiples of the same image.  In other sets I had two each of three images, or three each of two.  I sold more sets than I thought I would, and came home with about $50 and less than half of my inventory.  Success!

Last year I wanted to try and sell off my remaining stock and add some new designs, but never got to it.  So now it's one month until camp, and I'm off into production mode (as well as camp prep) again!

Last fall I had this idea of creating a series around one of my favorite stamps from the Moon Rose, and pairing that image with various quotes.  This concept led to this year's valentine:


But I found that when I stamped out all of the quotes I had in my collection that I thought would work with this image, they didn't all work visually.  Either the font was wrong, or like the card above, the pairing of image and quote didn't fit on an A2 card, which is my go-to size for cards.  In the last couple of weeks, coming back to this series, I hit upon what I wanted to do:  limit my cards to 3 or 4 different images, and pair each image with a different quote.  I played around with the placement of figure and words, and came up with these three prototypes:

Figure:  Moon Rose; Quote:  Just For Fun

Figure:  Silver Crow Creations; Quote:  Inkadinkado

Figures:  Picture Show; Quote:  River City Rubber Works

I wanted to add a dash of color to each design by masking the figure, and using a stencil to stipple in some color behind (see this post on my attempt to use a pre-made mask...).  I used the excuse of needing a card to send to a friend to make my first full card.

I used a stamp positioner to put my image in the right place.


I masked the image and used Tim Holtz's Dot Fade stencil to add color.


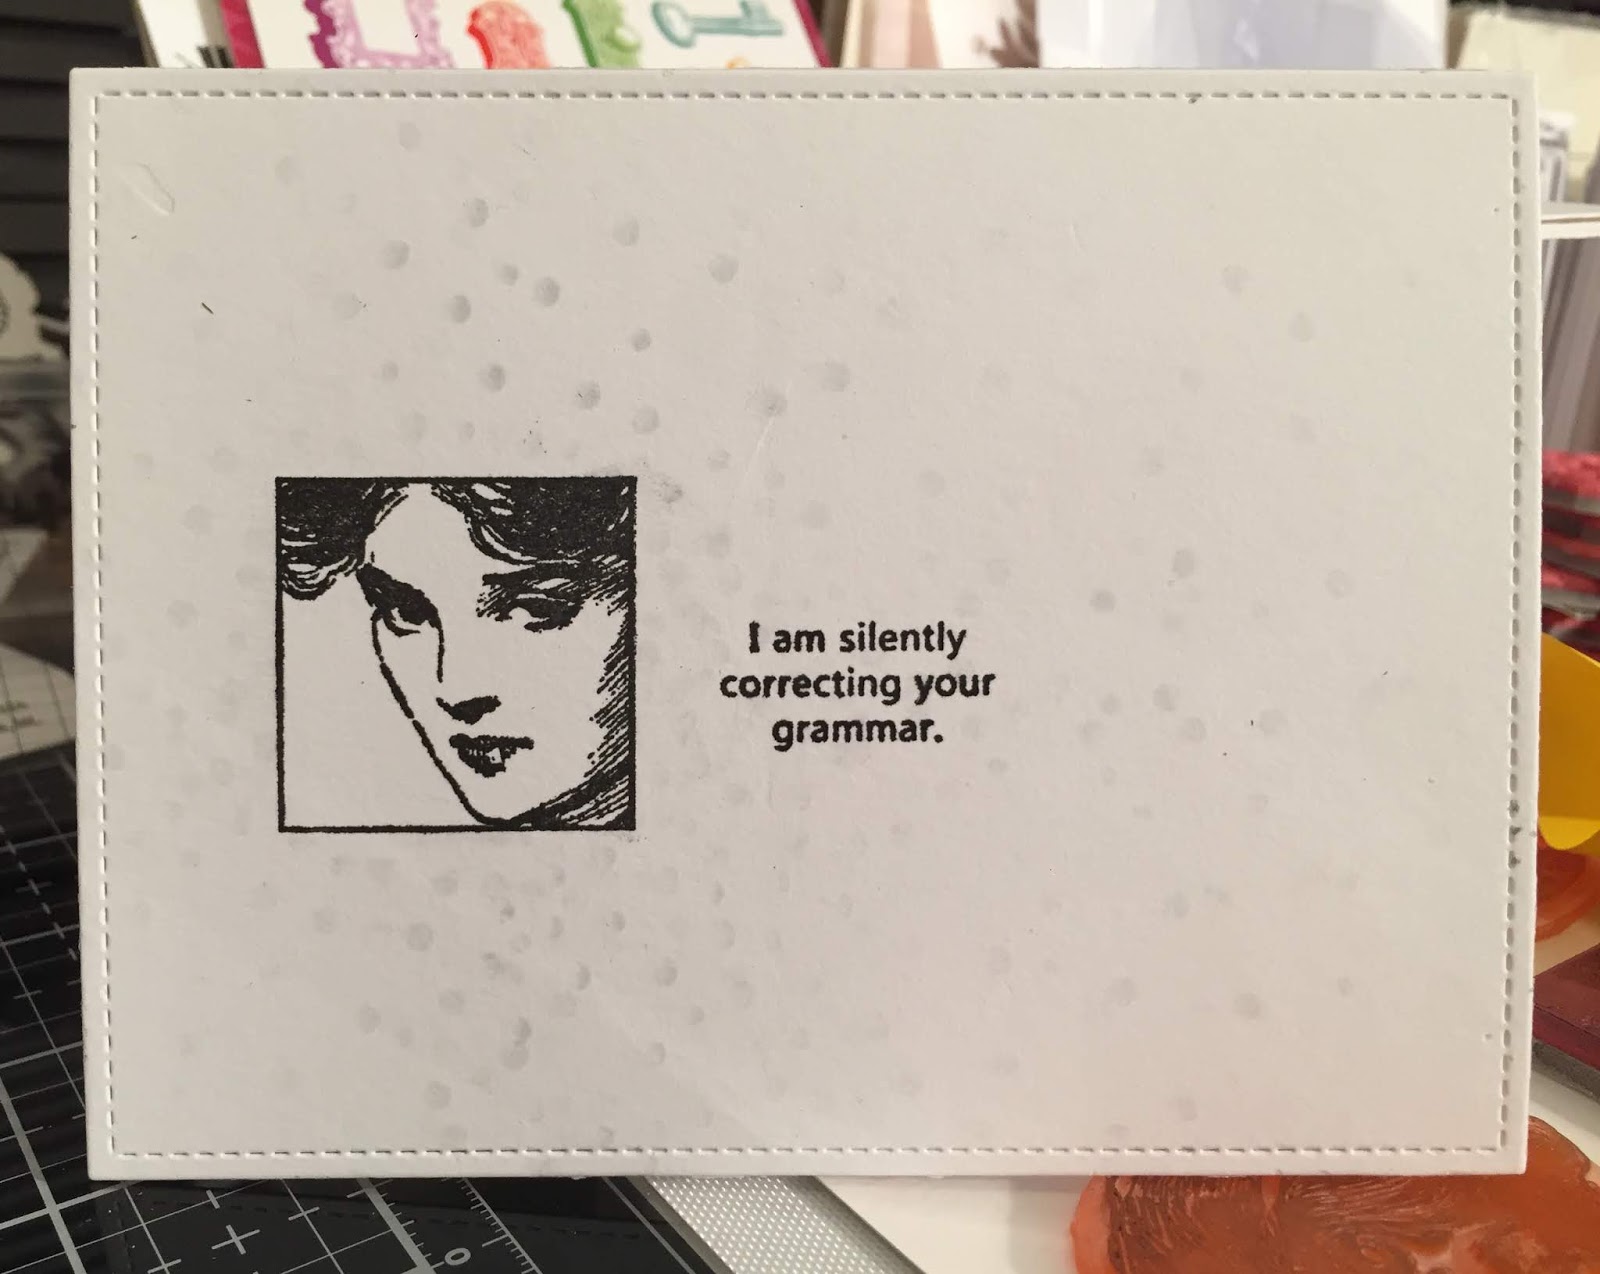
I made just a small error when I added the quote, so I started again, which allowed me to make the image and quote square up with the card - little errors like that really annoy me.


Voila!  I think I may leave it at that.  I used a Color Box chalk ink in Rose Coral, which shows up better in reality than in the photo.  I am resisting the urge to add more color or a border or both.  


For the other cards, I will either use the same stencil and a different color, or a different stencil and the same color.  I want the set to have some unifying features.

I'll keep all one of you reading posted on my progress and the success of my sales!